Titanium pry bars: profile, chamfer and finish on a first run
A pocket pry bar is a flat titanium blank with a thin tip. Why Grade 5 is the usual choice, how thickness sets strength and how to run a first batch of ten.
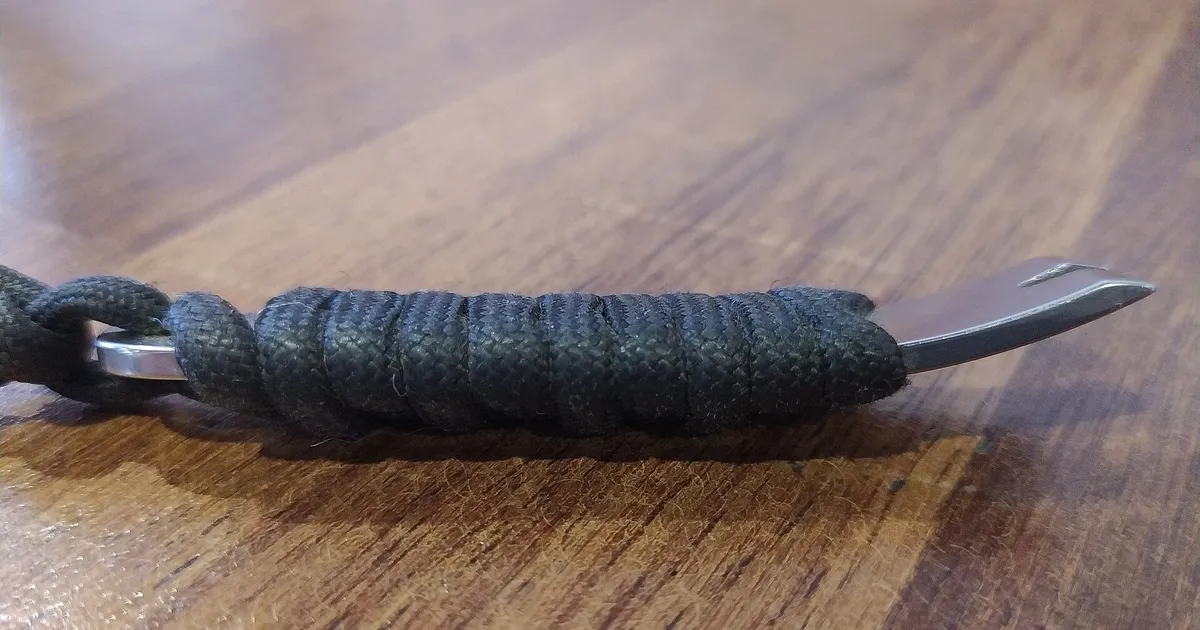
A pocket pry bar looks like the simplest EDC product: a flat strip of metal with a slightly bent tip. It also fails in a very visible way, by bending in someone’s hand. A first production run should treat it as a small structural part, not a trinket, and decide thickness, tip geometry and finish with that in mind.
What a pocket pry bar is
The typical EDC pry bar is 75 to 110 mm long, 10 to 15 mm wide and 2.5 to 5 mm thick. One end has a flat wedge for prying, often with a small notch for pulling a nail or a staple. The other end carries a lanyard hole, a bottle opener cut-out or a hex recess. Many are wrapped with cord or fitted with a sleeve for grip.
It is cut from plate. The profile is made by waterjet, laser or wire EDM, and the tip, holes and chamfers are finished on a CNC mill. Most of the work is 2.5D, so a 3-axis machine is enough.
Why Grade 5 is the usual material
Titanium Grade 5 (Ti-6Al-4V) has a minimum yield strength of about 828 MPa in the annealed condition per common plate standards. Grade 2 has a minimum yield of about 275 MPa. The gap is large enough that a bar that survives in Grade 5 can bend in Grade 2 under the same load.
Stainless and tool steels are alternatives. They are heavier, and a hardened tool steel bar can snap instead of bending. Titanium Grade 5 tends to bend before it breaks, which many buyers prefer. See Grade 2 vs Grade 5 for EDC for the general trade.
How thickness sets strength
A flat bar in bending is governed by its section modulus, which for a rectangle is width times thickness squared divided by six. Strength rises with the square of the thickness, so a small thickness change has a big effect.
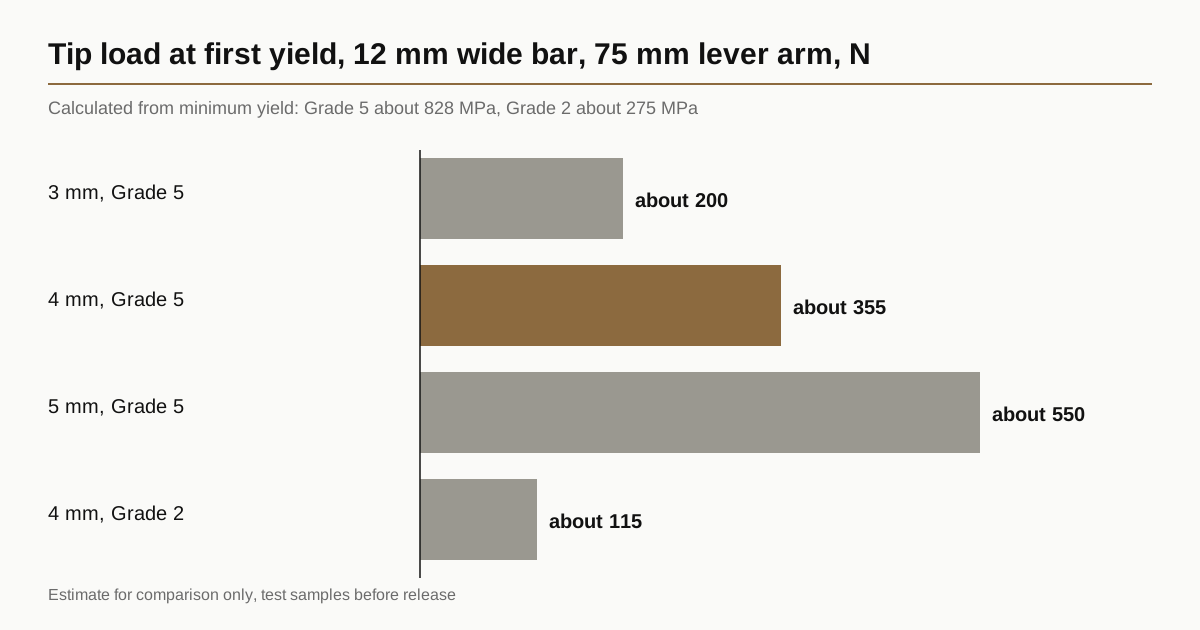
The table below is a simple estimate for a bar 12 mm wide, loaded at the tip with the hand holding 75 mm away. It shows the load at which the outer fibre first yields in bending, using the minimum yield figures above. It is not a promised rating, and real use adds impact and twist.
| Thickness | Section modulus | Load at first yield, Grade 5 | Load at first yield, Grade 2 |
|---|---|---|---|
| 3 mm | 18 mm³ | about 200 N | about 65 N |
| 4 mm | 32 mm³ | about 355 N | about 115 N |
| 5 mm | 50 mm³ | about 550 N | about 180 N |
A newton is roughly a tenth of a kilogram of force, so 355 N is about 36 kg. A hand can exceed that with a long grip. This is why some bars have a deliberate bend allowance or a sleeve. Ask the shop and the designer to run a simple test on samples.
Tip profile and chamfer
The tip is where design and manufacturing meet.
- Wedge angle. A shallow wedge slides into a gap easily but is thin and weak. A steep wedge is stronger but starts harder. Many EDC bars use a wedge in the order of 15 to 30 degrees on one or both sides. Choose with the tip thickness in mind.
- Tip thickness. A tip below about 1 mm will roll or chip under load. A flat land of 0.8 to 1.5 mm is common.
- Corner radius. Square corners concentrate stress. A small radius at the tip corners and at any notch root extends life.
- Notch for nails. Keep the notch root radiused and away from the lanyard hole.
- Chamfer on the long edges. A chamfer of 0.3 to 0.5 mm makes the bar comfortable in the hand and protects the cord.
Draw these as dimensions, not as a 3D model. A shop may otherwise round them off when programming.
Cutting the blank
- Waterjet. No heat-affected zone. Edges are slightly tapered and rough, so the shop machines them or leaves stock.
- Laser. Fast, but cutting titanium can leave a thin brittle oxygen-rich layer on the cut edge, often called alpha case. It should be machined off.
- Wire EDM. Accurate and burr-free. Slower and costlier for plate.
- Milling from plate. Slower, but gives the finished profile and edge in one setup.
For a first run, ask for the blanks to be cut with at least 0.3 mm of stock on all edges, then profile-milled.
Finish
- Bead blast hides tool marks and gives a uniform matte grey.
- Stonewash gives a worn, slightly polished look. See stonewash, bead blast and anodize.
- Anodize adds colour. A thin coating on a tip does not help prying and can wear off at the edge. Mask the tip if colour at the tip matters.
- Cord wrap or sleeve. Done by hand after finishing, with the brand’s cord.
Deburr all edges. A sharp edge on a pry bar is both a safety problem and a customer complaint. Tumbling, deburring and edge breaks gives options.
The first run of ten
For a new design, a batch of ten is a test, not a sale. Plan it like this:
- Make ten from one plate, with two different tip angles, five of each.
- Measure thickness, width and length on all ten.
- Bend-test two or three to failure, or to a set load, and record results.
- Check the tip for rolling or chipping after a prying test on a wood and steel sample.
- Choose the geometry, then place the production order.
Include a note on safe use in the packaging. A pry bar is not a chisel and is not meant to be hit.
What to write in the RFQ
- Drawing with outline, thickness tolerance, tip angle, tip land and corner radii
- Material: Grade 5 titanium, condition annealed, with plate certificate
- Hole and cut-out positions
- Edge chamfer sizes
- Finish and masking
- First run quantity and the tests you want on samples
- Packaging and handling instructions
Send the drawing with the test plan, and the shops in the network will reply within 24 business hours. For how to keep the first quote low, design for CNC to cut your quote is a useful read.
FAQ
Can a titanium pry bar replace a steel one? For light tasks, yes. For heavy tasks, no. Titanium bends under loads that steel can carry, and bars are sold for light use.
Why does the tip need a flat land? A knife-sharp tip rolls over or chips. A flat land of about a millimetre survives.
Does anodizing weaken the bar? The coating is very thin and does not change strength. It can wear off at the tip.
Should I cut the blank by laser or waterjet? Both work. Waterjet avoids heat effects. Laser needs the edge machined to remove surface damage.
How many samples should I test? Three to five from a first batch. Bend test at least two.