Knurling, jimping and grip textures: how each is machined
Formed knurl, cut knurl, milled jimping and flute patterns each have a different cost and edge quality. How the shops make them and what to put in the RFQ.
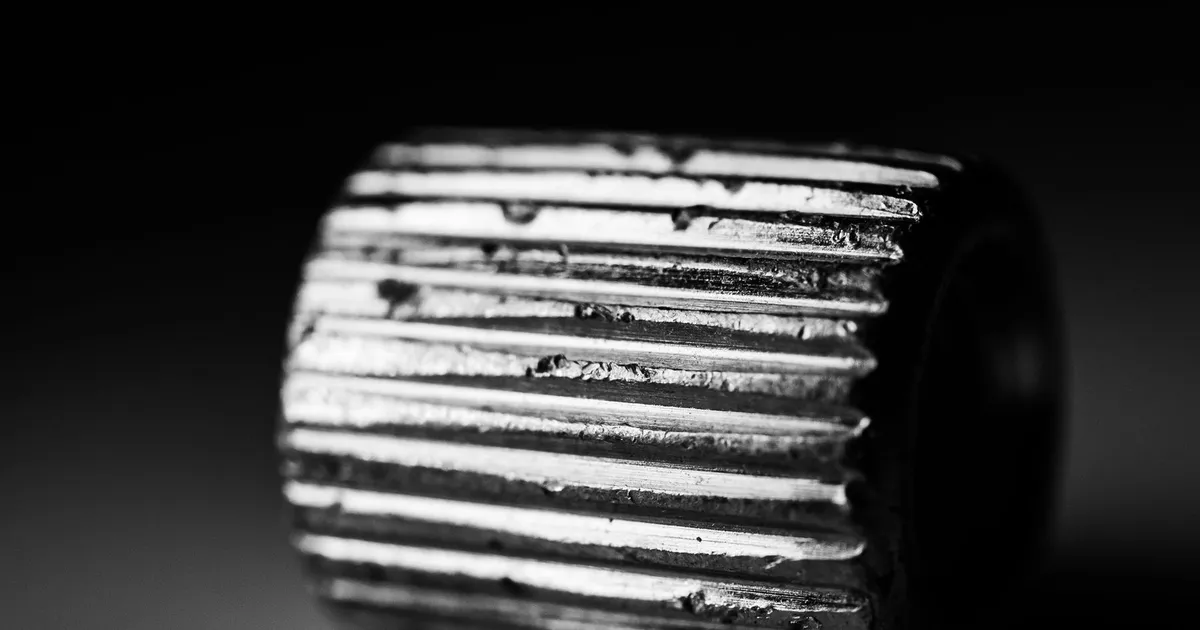
Grip texture is what a buyer feels first. It is also where a quote can go wrong, because “knurled” in an RFQ covers three or four very different processes. A rolled diamond knurl on a pen barrel and a cut jimping pattern on a knife spine are made with different tools, at different speeds and with different edge quality.
Formed knurling
Formed knurling presses hardened wheels into the turning part. The wheels do not remove metal. They push it aside, so ridges rise and valleys sink. This is the standard knurl on pens, tail caps and thumb screws.
Three consequences matter:
- The outside diameter grows. The shop turns the blank slightly undersize so that the finished knurl lands on the drawing diameter. State which diameter you control: the peak or the root.
- Thin walls can distort. A thin tube pressed hard by two wheels may go out of round. The shop can support it with an arbor or switch to cut knurling.
- Tough materials fight back. Grade 5 titanium and hard stainless need more pressure and wear the wheels faster. The knurl may look softer than on brass or aluminium.
Cut knurling
Cut knurling uses a tool that shears the pattern out of the surface. Material comes off as chips. The pattern is crisper, the peaks are sharper and the diameter does not grow in the same way, but the cycle time is longer and the tooling is more specialised.
Pen and flashlight makers who want a precise, jewel-like grip choose cut knurling or a milled pattern on a mill-turn machine. Expect a higher unit price than for a rolled knurl. The look is the reason to pay for it.
Patterns and how to name them
The common knurl patterns are straight (parallel to the axis), diagonal (a spiral) and diamond (two diagonals crossing). Pitch is the spacing between ridges, often quoted in millimetres or as teeth per inch. Finer pitch looks more refined and grips less aggressively. Coarser pitch grips harder and is easier to produce consistently.
For a reference, DIN 82 is the German standard that names knurl types, and many shops know its codes. If you rely on it, check the current edition and quote the code on the drawing together with the pitch. A reference photo, as always, removes doubt in a way words do not.
Jimping
Jimping is the small cut notches on the spine of a knife blade or on the top of a handle that give the thumb a stop. It is almost always milled.
The usual methods are:
- A small slitting cutter or a thin end mill that plunges a series of grooves
- An angled form cutter that makes a V profile
- On a few designs, wire EDM, when the pattern is fine or runs into a corner
Key dimensions are depth, pitch, groove angle and the radius at the bottom. Typical depths are a few tenths of a millimetre, because deeper notches weaken a thin spine and trap debris. Jimping on a heat-treated blade is harder to cut, so the order of operations matters: cut it before heat treatment when possible, and tell the shop which condition the steel is in. For the steel side of this, heat treatment for EDC tool steel explains why.
Milled grip patterns
Beyond knurl and jimping, the shops in the network make dimples, flutes, checkering, hex patterns and wave textures by milling. These are 3-axis or 4-axis programs and the cost is in cycle time, not in tooling. A pattern of two hundred small features can add many minutes to a part that otherwise takes ten.
For a big visual effect at low cost, a milled pattern on one area, such as a thumb ramp, can beat a texture over the whole body. A good designer chooses the zone where the hand actually sits.
What finishing does to texture
The texture you draw is not the texture you get after finishing. Three examples:
- Bead blast rounds sharp peaks slightly and makes the grip feel softer.
- Tumbling removes burrs and dulls the knurl crest. It can also remove the edge definition on jimping. See tumbling and deburring.
- Anodizing coats the surface with a thin layer that follows the profile. Deep recesses colour unevenly, and sharp peaks can show the base metal.
Ask the shop for a finished sample if the grip matters, because a drawing cannot show what a thumb feels.
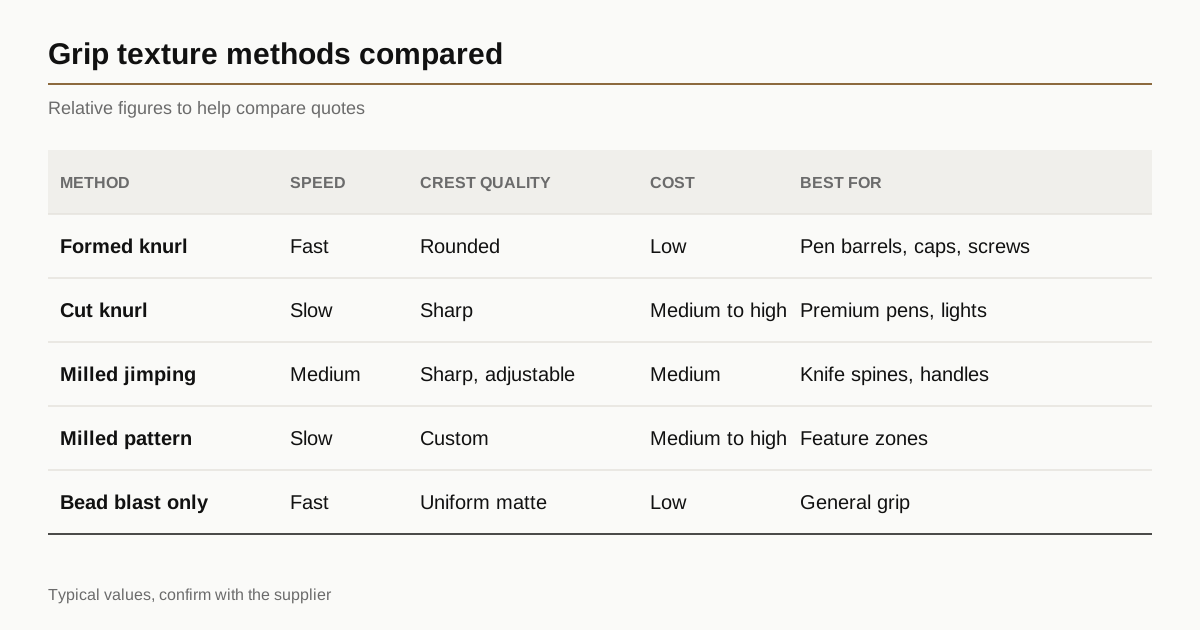
A comparison
Values are typical relative figures to help you compare.
| Method | Speed | Edge quality | Relative cost | Best for |
|---|---|---|---|---|
| Formed knurl | fast | rounded crest | low | pen barrels, caps, screws |
| Cut knurl | slow | sharp crest | medium to high | premium pens, lights |
| Milled jimping | medium | sharp, adjustable | medium | knife spines, handles |
| Milled pattern | slow | custom | medium to high | feature zones |
| Bead blast only | fast | uniform matte | low | general grip |
Typical pitfalls
- Knurl running into a thread. The knurl pushes metal into the thread region. Leave a plain land between them.
- Knurl on a thin wall. The wall bulges. Ask for a mandrel or a cut knurl.
- Different pitch on left and right parts. Pairs should be made with the same tool so they match.
- Pitch not tied to circumference. A diamond pattern must divide evenly around the diameter or the lines will not meet at the seam. A good shop adjusts the pitch slightly to close the pattern. Allow it.
- Knurl too close to a shoulder. The wheel needs run-out room. Leave about 1 to 2 mm of relief.
For small turned parts such as beads and bases, small turned parts for lanyard beads has related pointers.
What to write in the RFQ
- Knurl type: formed, cut or milled, with pattern and pitch
- Which diameter you control, peak or root
- A reference photo or sample part
- Jimping depth, pitch and the heat-treat condition of the material
- Finishing steps after texture
- Any area that must stay smooth, such as a thread land
Send the drawing with a photo of the grip you want and the shops will reply within 24 business hours with a method and a price for each texture.
FAQ
Is formed or cut knurling better for titanium? Cut or milled patterns usually look crisper on titanium. Formed knurling works but needs pressure and can look softer.
How deep should jimping be? Typically a few tenths of a millimetre. Deeper notches weaken a thin spine and collect lint.
Can knurling be done after anodizing? It is possible but it removes colour from the peaks. Texture first, anodize second is the normal order.
Why does my knurled part measure larger than the drawing? Formed knurling raises the peaks. Specify whether the diameter is measured at the peak or the root.
Does texture add to lead time? A formed knurl adds seconds per part. A milled pattern can add many minutes, so ask for the cycle time impact.